Pentair Clean & Clear Plus 320 Replacement Filter Cartridge Element (80 Sq Ft) | R173573
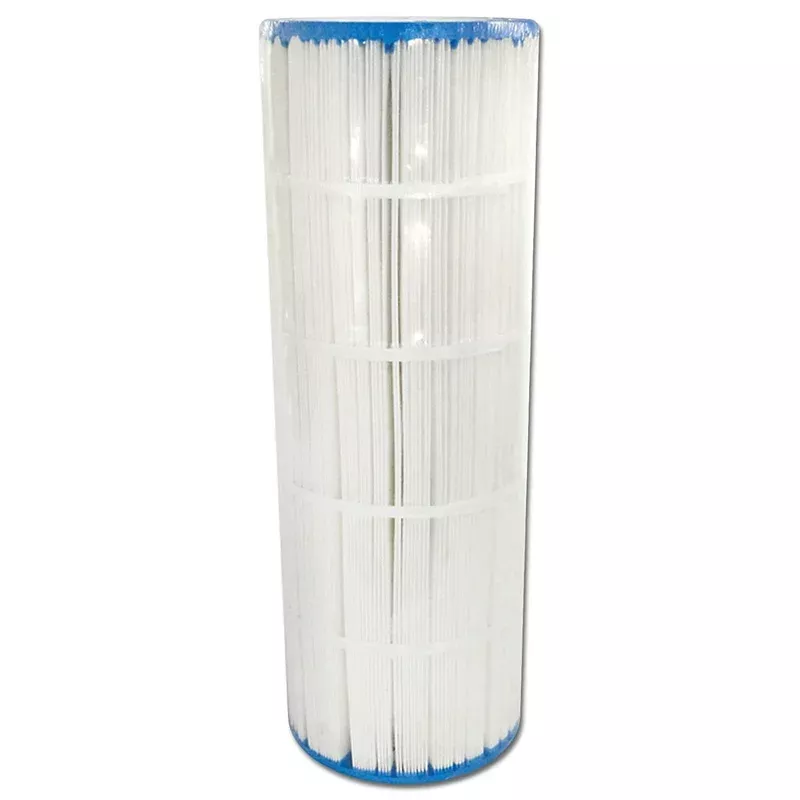
The Pentair R173573 is an OEM replacement cartridge element for the Pentair Clean & Clear Plus 320 cartridge filter (commonly referred to as CCP320). Each cartridge provides approximately 80 sq ft of filtration area, and a complete CCP320 filter uses four cartridges (totaling 320 sq ft). Replacing worn or permanently loaded cartridges helps restore circulation, reduce operating pressure, and improve water clarity.
Compatibility
- Fits: Pentair Clean & Clear Plus 320 cartridge filter (CCP320)
- Full set: 4 cartridges required for a complete 320 sq ft replacement
Key Features
- OEM-fit cartridge element designed to seat and seal correctly in CCP320 filters
- High pleat surface area captures fine debris for clearer water
- Improves flow when replacing cartridges that are clogged, torn, or no longer rinse clean
- Easy service for routine rinse cleaning and periodic deep cleaning
Specifications
- Brand: Pentair
- Part Number: R173573
- Filtration Area: 80 sq ft (per cartridge)
- System Total: 320 sq ft (4 cartridges)
- Approx. Dimensions: 7″ diameter x 20″ length
- UPC: 788379502171
- Quantity: Sold individually
When to Replace
- Filter pressure rises quickly after cleaning or wont return close to baseline
- Visible tears, cracked end caps, loose bands, or collapsed/deformed pleats
- Pleats remain dark/greasy or wont rinse clean after a proper soak and rinse
- Cloudy water persists despite proper chemistry and adequate run time
Installation Notes
- Shut off the pump and open the air-relief valve to fully relieve pressure before opening the filter.
- Remove cartridges and clean the tank, manifold, and internal surfaces before installing replacements.
- Install cartridges evenly and confirm proper seating on the bottom manifold and alignment with the top manifold.
- After reassembly, restart the pump with the air relief open until all air is purged, then close the relief.
- Record your clean starting pressure to use as a baseline for future cleanings.